Taiga
Table of Contents
Introduction
Taiga is the project management tool for multi-functional agile teams. It has a rich feature set and at the same time it is very simple to start with through its intuitive user interface.
Prerequisites
- Make sure you have a wallet
- From the sidebar click on Applications
- Click on Taiga
Deployment
-
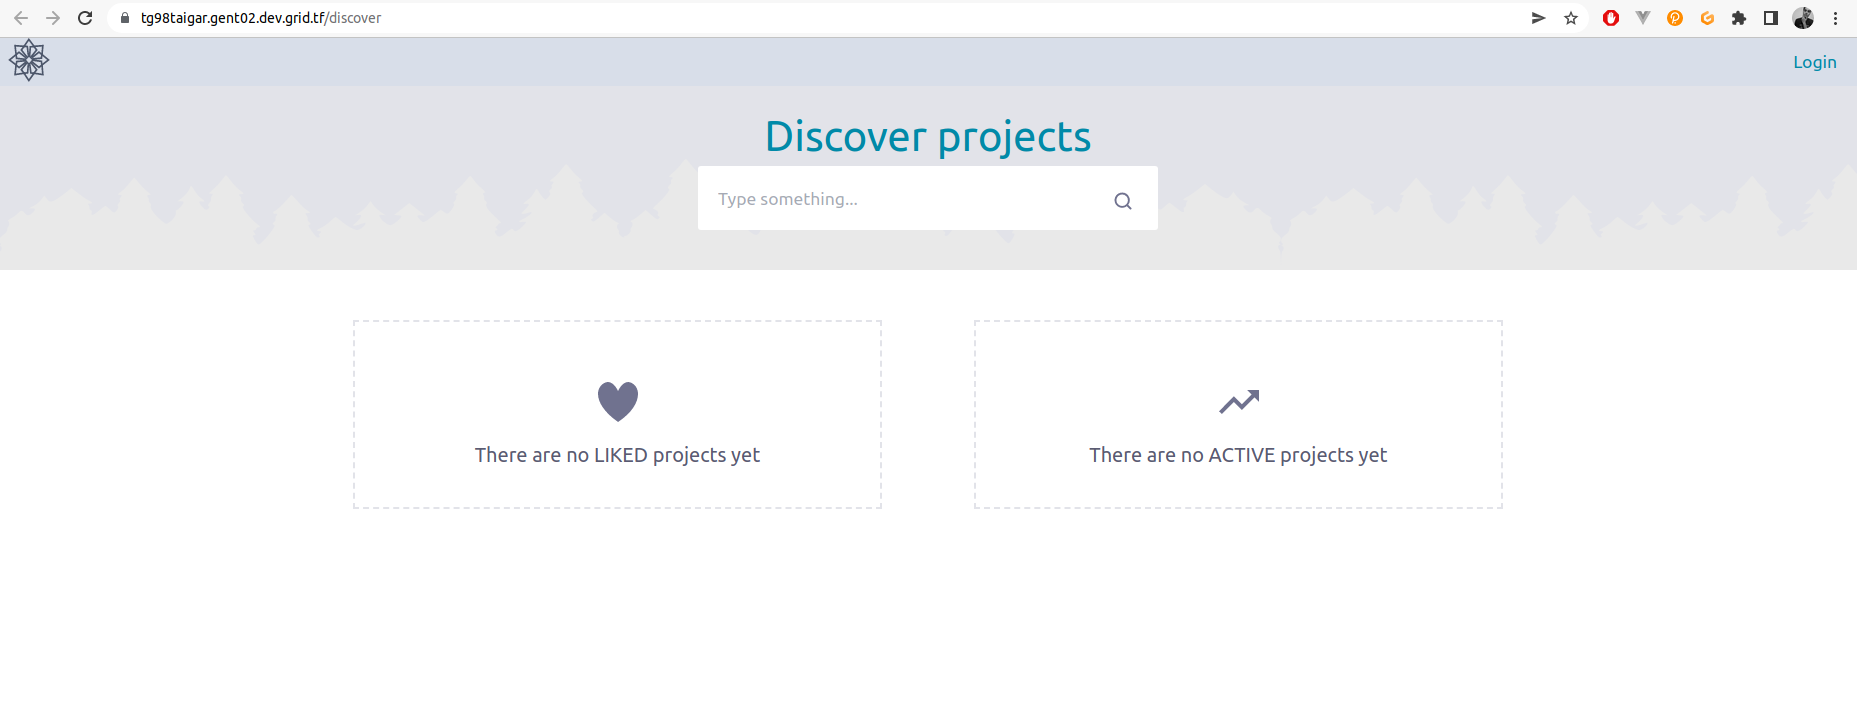
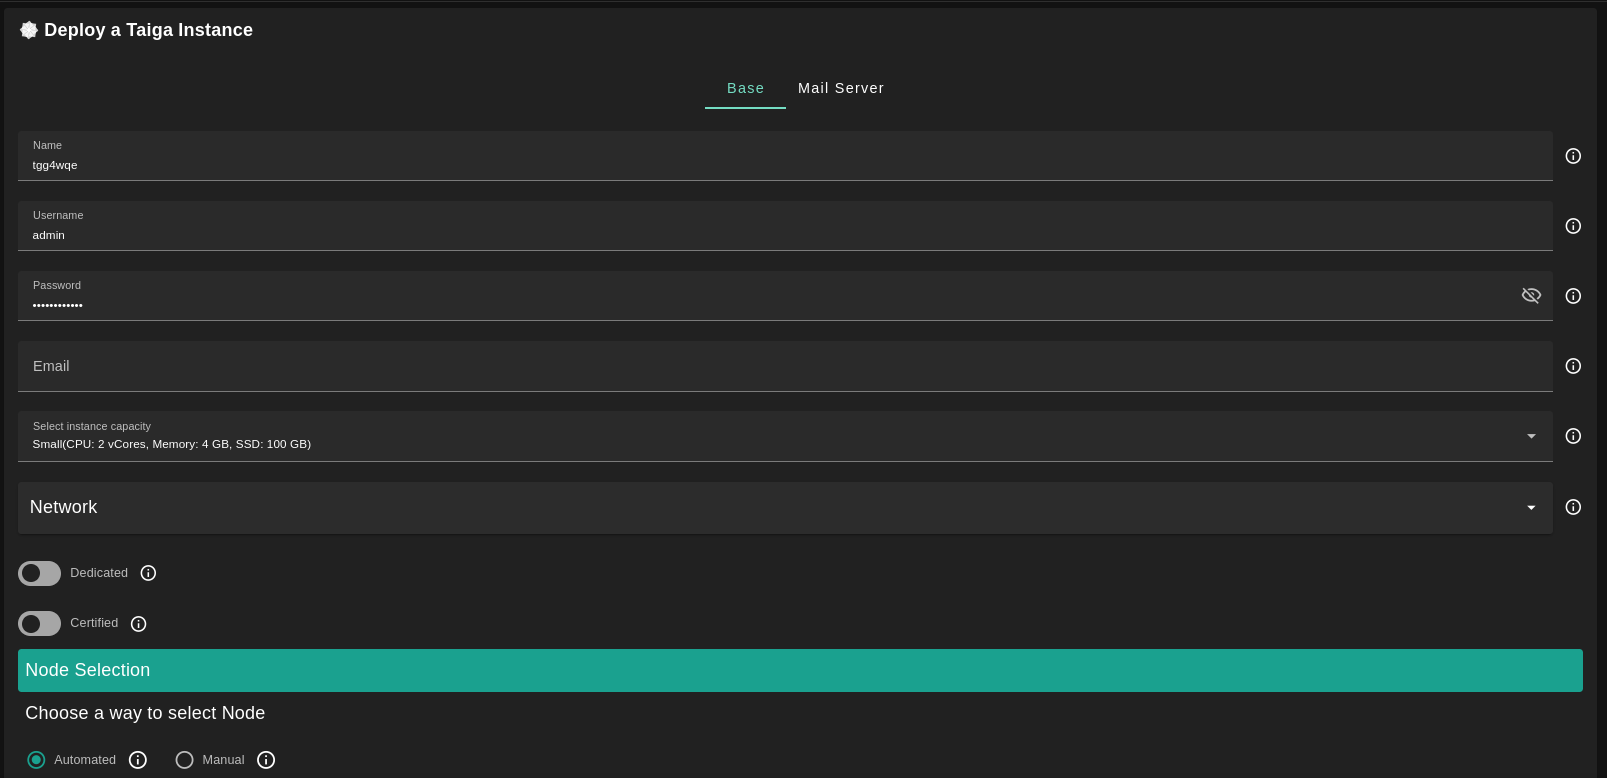
Enter an Application Name. It's used in generating a unique subdomain on one of the gateways on the network alongside your twin ID. Ex. tg98taigar.gent02.dev.grid.tf
-
Enter administrator information including Username, Email and Password. This admin user will have full permission on the deployed instance.
-
Select a capacity package:
- Small: {cpu: 2, memory: 4, diskSize: 100 }
- Medium: {cpu: 4, memory: 8, diskSize: 150 }
- Large: {cpu: 4, memory: 16, diskSize: 250 }
- Or choose a Custom plan
-
Dedicatedflag to retrieve only dedeicated nodes -
Certifiedflag to retrieve only certified nodes -
Choose the location of the node
RegionCountryFarm Name
-
Choose the node to deploy the Tiaga instance on
Or you can select a specific node with manual selection.
Custom Domainflag lets the user to use a custom domain- Choose a gateway node to deploy your Funkwhale instance on.
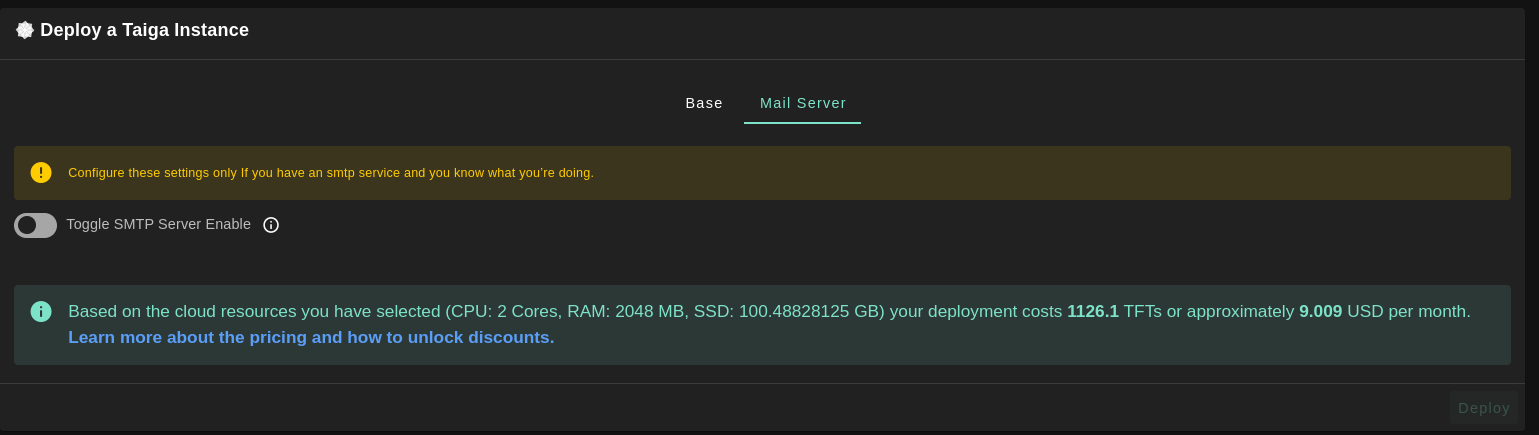
There's also an optional Mail Server tab if you'd like to have your Taiga instance configured with an SMTP server.
After that is done you can see a list of all of your deployed instances
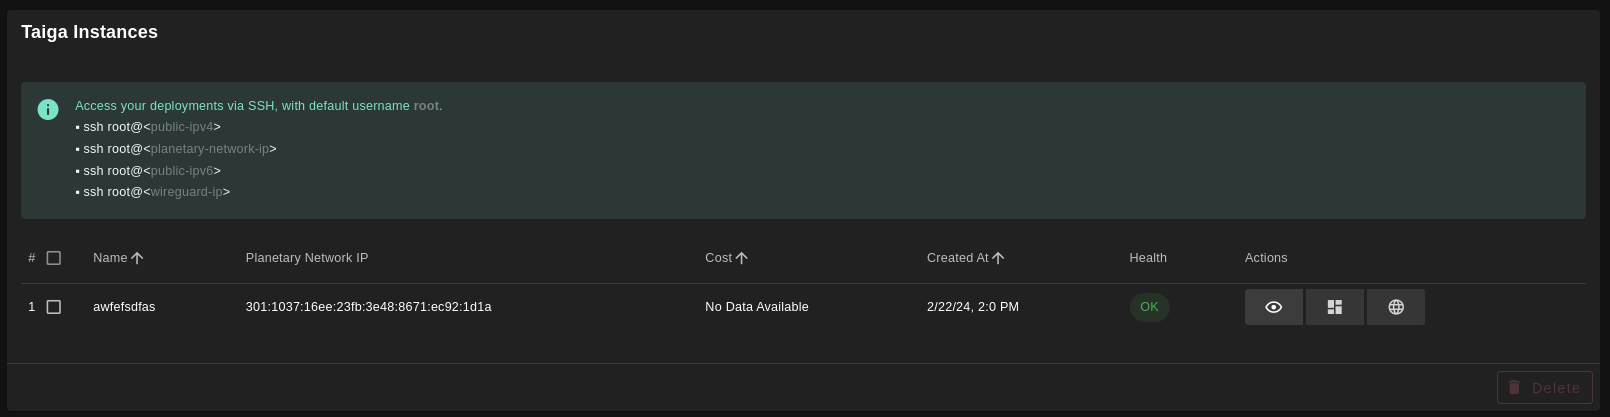
Click on Visit to go to the homepage of your Taiga instance!